 Ballista
Maximum Point-Blank Range: The Best Zero for 4, 6 and 8 Inch Vitals
The best zero for 4, 6 and 8 inch vital zones with a 6.5 Creedmoor, a .308 and a .270 deer load, how far each holds dead on, and why sighting in 3 inches high at 100 yards is an 8-inch rule.
Zero a 6.5 Creedmoor at 100 yards and you can hold dead on a deer’s 6-inch vital zone out to 189 yards. Move the zero to 235 yards and the same rifle holds dead on to 277, 87 yards farther, without touching a turret. That’s maximum point-blank range: the zero that keeps the bullet inside the vitals, never above and never below, for as far as possible. Here it is for three loads and three zone sizes, worked out from the full trajectory rather than a table.
How we found the best zero
The idea is simple. The bullet starts below the line of sight, rises through it, peaks, and falls back. With a vital zone of a given height centered on your aim point, you want the peak to touch the top of the zone and no more. Then the bullet stays inside until it falls out of the bottom, and that distance is the point-blank range.
We solved each load with its zero set every 5 yards from 180 to 285 yards and listed the path every 5 yards out to 350, plus the muzzle. For each zero we found the peak by fitting a parabola through the highest point and its neighbors, and the first distance where the path leaves the zone, interpolated between the 5-yard points. A zero that lifts the peak even slightly over the top of the zone leaves the zone early, on the high side, so the best zero is the farthest one whose peak stays inside. That’s what the table gives, to the nearest 5 yards below the exact optimum.
| Load, vital zone | Best zero, yd | Point-blank range, yd | Height at 100 yd, in | Peak, in at yd | Dead hold with a 100 yd zero, yd |
|---|---|---|---|---|---|
| 6.5 Creedmoor 140 gr, 4 in | 200 | 235 | 1.8 | 1.9 at 120 | 170 |
| 6.5 Creedmoor 140 gr, 6 in | 235 | 277 | 2.7 | 3.0 at 130 | 189 |
| 6.5 Creedmoor 140 gr, 8 in | 260 | 308 | 3.3 | 3.9 at 140 | 205 |
| .308 Win 175 gr, 4 in | 190 | 223 | 1.8 | 1.9 at 110 | 165 |
| .308 Win 175 gr, 6 in | 220 | 259 | 2.7 | 2.9 at 130 | 182 |
| .308 Win 175 gr, 8 in | 245 | 289 | 3.4 | 3.8 at 140 | 197 |
| .270 Win 130 gr, 4 in | 215 | 251 | 1.8 | 1.9 at 130 | 181 |
| .270 Win 130 gr, 6 in | 250 | 293 | 2.5 | 3.0 at 140 | 201 |
| .270 Win 130 gr, 8 in | 275 | 324 | 3.1 | 3.8 at 150 | 218 |
What the numbers show
A bigger zone buys less than you’d think. Doubling the zone from 4 to 8 in moves the 6.5’s point-blank range from 235 to 308 yd. The bullet is falling faster with every yard, so each extra inch of zone is worth fewer yards.
Velocity matters more than BC here. The .270 soft point is the least streamlined bullet of the three, a flat-base soft point with a G1 BC of 0.372, yet it holds dead on the farthest: 293 yd on a 6 in zone. It leaves the muzzle 350 fps faster than the 6.5, and drop depends on time in the air. By 300 yd the 6.5 has almost caught up in speed (2,300 fps against 2,320), but the .270 got there in 0.338 s against 0.360 s and has dropped less on the way. Past point-blank range the high-BC bullets pull ahead, which is why they win at long range.
The point-blank range sits about 30 to 50 yd beyond the zero. Across all nine cases the bullet leaves the bottom of the zone 33 to 49 yd past the far zero, and the peak falls at 55% to 59% of the zero distance.
Overshooting the zero is a sharper mistake than undershooting it. Zero the 6.5 at 240 yd instead of 235 for a 6 in zone and the peak rises to 3.14 in, 0.14 in over the top. By the strict definition the point-blank range then ends at 112 yd, where the bullet first pokes above the zone. In practice a tenth of an inch over the top won’t lose an animal, but it’s the reason to round the zero down, never up.
The 3-inches-high-at-100 rule is an 8-inch rule
A common piece of hunting advice is to sight in 3 in high at 100 yd and hold dead on. We ran it. The peak lands at 3.4 in for the 6.5, 3.3 in for the .308 and 3.6 in for the .270, so on a 6 in zone the bullet is already over the top at 100 yd. On an 8 in zone it works well: it holds to 298 yd for the 6.5, 279 for the .308 and 319 for the .270, within 11 yd of the best 8 in zero.
For a 6 in zone, the right sight-in at 100 yd is about 2.5 to 2.7 in high for these loads. For 4 in, about 1.8 in.
Limits of a point-blank zero
Point-blank range is solved for a level shot in calm air in the air you zeroed in. A crosswind isn’t in it, and near the end of point-blank range it can push the shot out the side of the zone; the wind drift article has the numbers. Steep angles make the bullet hit higher, and thin air flattens the path a little. The zero also commits you: past the point-blank range the drop grows fast, and you need a real come-up.
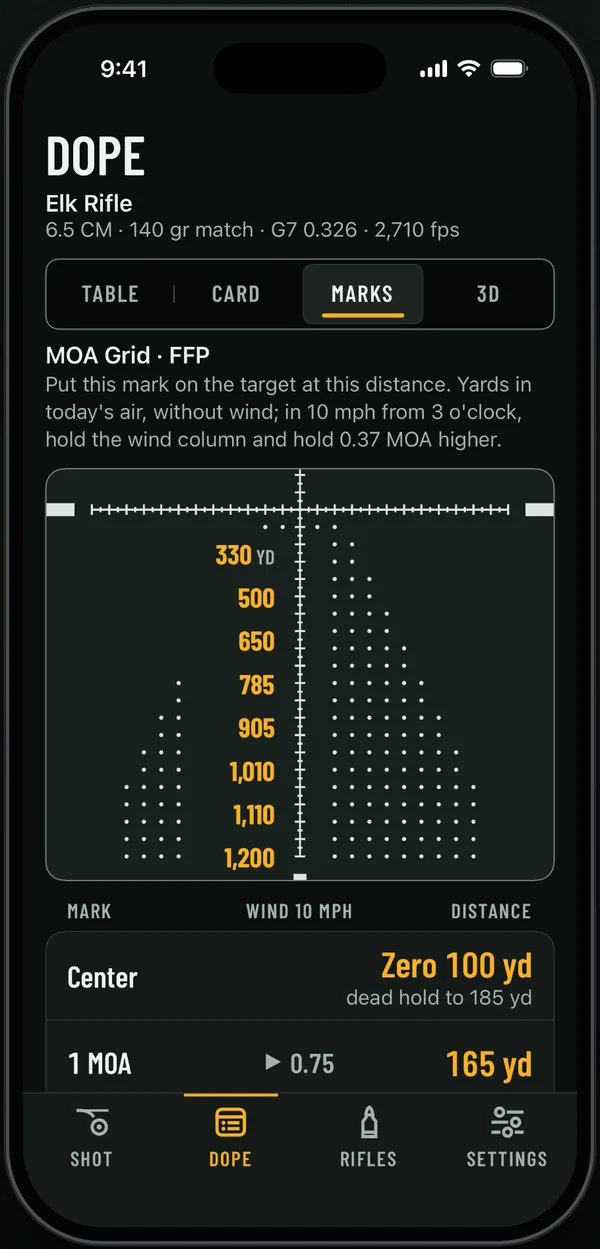
Ballista works this out for rifles set to Hunting. You pick the vital zone (Varmint 3, Deer 6 or Elk 8 inches), and the app shows how far you can hold dead on with your own zero. When a point-blank zero reaches farther, the rifle’s Zero section offers it as a “Point-blank option”: how high to sight in at your own zero distance, how far that holds dead on, the zero it’s equal to, and a button to use it. The app rounds the zero down to 5 yd and the sight-in height down to a tenth of an inch, so the peak never pokes over the zone.
Setting up a point-blank zero
- Pick a realistic zone. Use the size you can count on for the animal and your shooting position, not the biggest it could be.
- Sight in high at 100 yd by the amount for your load and zone, then confirm at the far zero distance. The table’s height column is that amount.
- Learn the point-blank range as a hard limit. Inside it, hold center. Beyond it, use your come-up.
- Re-check if you change load or zone. The best zero moves 60 yd for the 6.5 between a 4 and an 8 in zone.
Sources
- Federal Premium, Power-Shok .270 Winchester 130 gr Jacketed Soft Point (270A), product page: muzzle velocity 3,060 fps and G1 BC 0.372.
- Robert L. McCoy, Modern Exterior Ballistics, Schiffer Publishing, 1999. The point-mass trajectory model.
- Every number in this article: Ballista engine (BallistaCore point-mass solver), inputs in the box above. Point-blank range computed from the engine’s paths as described in the article. See how we compute.